.svg)
.svg)
.svg)
.svg)
.svg)


.svg)


.svg)
.svg)

TL;DR
- Low engagement and retention often happen because users aren’t guided to understand how your product delivers value. Without clear onboarding, they may miss key features, struggle to complete meaningful actions, and fail to reach those ‘aha!’ moments that keep them coming back.
- The best practices for boosting engagement and retention include:
- Deliver guidance in small steps to make onboarding approachable and reduce cognitive load.
- Automate onboarding tasks like walkthroughs, checklists, and reminders to provide consistent, 24/7 in-app onboarding and scale effectively.
- Personalize flows and messages to align with each user’s goals, role, and behavior.
- Deliver timely, contextual in-app messages, tooltips, and hotspots to guide feature discovery and activation.
- Collect engagement data and refine flows based on completion rates, drop-offs, and interactions.
- With UserGuiding, you can offer interactive onboarding experiences, boost feature adoption, and help users reach their first “aha!” moments faster.
What makes user engagement and retention so difficult?
The real challenge begins right after sign-up.
Without a strong, personalized onboarding experience, users, especially those who aren’t tech-savvy, rarely reach the point where they truly experience the product’s value.
🗝️ Personalized onboarding is key to…
- Showing each user why your product matters to them,
- Helping users discover essential features and complete meaningful actions, and
- Hitting those first “aha!” moments that keep them engaged.
But here’s the problem: designing and delivering this kind of onboarding manually is time-consuming, inconsistent, and hard to scale.
👉🏻 As a result, you either deliver a generic onboarding experience that doesn’t resonate with most users, or you don’t deliver any onboarding at all.
We won’t discuss which is worse in this article.
But both paths lead to the same outcome: low engagement, even lower retention, and high churn.
Your hard-won sign-ups turn into wasted acquisition costs and slow down your product-led growth.
What are the best practices for boosting engagement & retention?
The good news is that this doomsday scenario isn’t set in stone for your business.
Those two paths we’ve just talked about, offering a generic onboarding or skipping it altogether, aren’t your only options.
There’s a third path, one that leads out of the dark: automating and personalizing onboarding at the same time.
Here’s how you can follow it:
#1 Deliver guidance in small, context-aware steps
Onboarding and in-app guidance are crucial, but that doesn’t mean you should overwhelm users the moment they enter your app.
Too much information at once can kill motivation and make users disengage entirely.
📌 To keep onboarding contextual and approachable:
- Break long onboarding flows into bite-sized steps.
- Use checklists to give users a clear, manageable roadmap for the onboarding.
- Keep product tours and walkthroughs short, ideally under 6 steps.
- Trigger guides, tooltips, and other onboarding materials only when they’re relevant to what the user is doing.
💡 Pro Tip: Think about (or better yet, run A/B tests) to choose the onboarding format that works best for the information you want to share.
Do you need an interactive guide? A single tooltip? A hotspot? A slideout modal?
The right combination ensures users get the help they need without feeling bombarded or left unsure.
#2 Automate recurring tasks like welcome tours, checklists, and reminders
As we’ve said, manual onboarding can be time-consuming and hard to scale.
And between us, you don’t really need someone from your team to walk every user through the same platform, just to show slightly different features…
You can automate it.
Plus, automated onboarding ensures that every user receives consistent guidance, exactly when they need it.
24/7 onboarding. Even at midnight on the weekend.
📋 Onboarding materials you can automate include:
- Welcome tours and walkthroughs that introduce first-time users to key features
- Checklists that guide users through essential steps and track progress
- Tooltips and hotspots that provide contextual tips at the right moment
- Follow-up messages and reminders to re-engage inactive users
#3 Use personalization to align onboarding with user goals
Every user is different, with unique goals, needs, and expectations. A one-size-fits-all onboarding flow rarely sticks.
Personalization ensures each user experiences the product in a way that actually matters to them, helping them reach those critical value realization moments (a.k.a. aha! moments) faster.
👉🏻 Here’s how you can bring personalization into your onboarding:
- Tailor guidance by user role or segment: Show marketing people different features than product managers or developers.
- Highlight features aligned with user goals: Use signup forms, surveys, or initial usage data to trigger guides that match what the user is actually trying to achieve.
#4 Deliver timely in-app messages and upgrade prompts
Personalization and segmentation can increase onboarding engagement and help users see your product's value.
But even with these strategies, there’s still a risk of overwhelming users with too much information at once.
Not every capability of a relevant feature should be introduced on day one.
Start with the basics first.
Once users are comfortable with the product and actively engaging, then you can gradually introduce advanced capabilities and encourage deeper exploration.
The same principle applies to premium features and upgrade prompts.
You should wait until users complete key actions or activate the basic features before suggesting any upgrades or engaging in premium feature engagement.
👉🏻 Tooltips and hotspots will be your most effective tools in this task.
✅ Hotspots are great for:
- Catching users’ attention on specific UI elements
- Promoting advanced features
- Boosting feature discovery and activation
✅ Tooltips are great for:
- Prompting users to take specific actions (like clicking on a UI element)
- Encouraging interaction with key features
- Guiding users toward premium features
#5 Collect data on material engagement to refine automation continuously
One way to see whether your onboarding materials and in-app guidance are actually useful to your users is to monitor their engagement data.
🔎 You can observe:
- Completion rates for your product tours, walkthroughs, and checklists
- Drop-off rates (and what steps do drop-offs happen mostly)
- Guide interaction numbers to see which guides are popular and which features require more guidance
💡 Pro Tip: You can run A/B tests to see which guide versions have higher completion rates, which tooltip copy drives more engagement, and which hotspot placements get the most interactions.
A/B testing slightly different versions of an onboarding material and monitoring their performance will help you create the smoothest in-app experiences and thus improve retention over time.
UserGuiding can help you!
You’re telling me to create all these in-app materials, automate them, personalize them, and then A/B test and monitor to optimize them.
And this is somehow more scalable and doable than 1:1 onboarding?
YES!
Because you only need one platform to do all of these: UserGuiding.
And you don’t even need to learn how to code or struggle with very technical tools to design and test your onboarding flows.
Here’s what you can create with UserGuiding’s intuitive, no-code builders:
1) Automated walkthroughs for first-time users
Walkthroughs are one of the easiest ways to get new users comfortable with your product. They guide users step by step through specific features and demonstrate how those features deliver real value.
✅ With automated walkthroughs, you can:
- Offer personalized guidance based on their use cases, roles, and behavior
- Reduce the initial learning curve and simplify complex workflows
- Minimize user frustration, especially for non-technical users
- Give users quick wins that build confidence
Here’s an example guide created with UserGuiding:
Through UserGuiding’s easy-to-use extension, you can create a guide like this within minutes.
All you need to do is…
- Choose a template to build on (or you can start from scratch)
- Add your steps and improve their interactivity and contextuality with visuals, buttons, links, and progress indicators
- Continue until you’re done
P.S. Keep your guides under 6 steps to ensure higher completion rates.
💡 Pro Tip: Some users won’t engage with a guide right away, or may want to revisit it later. Keeping walkthroughs accessible through checklists or an in-app resource center ensures they can always find the help they need, when they need it.
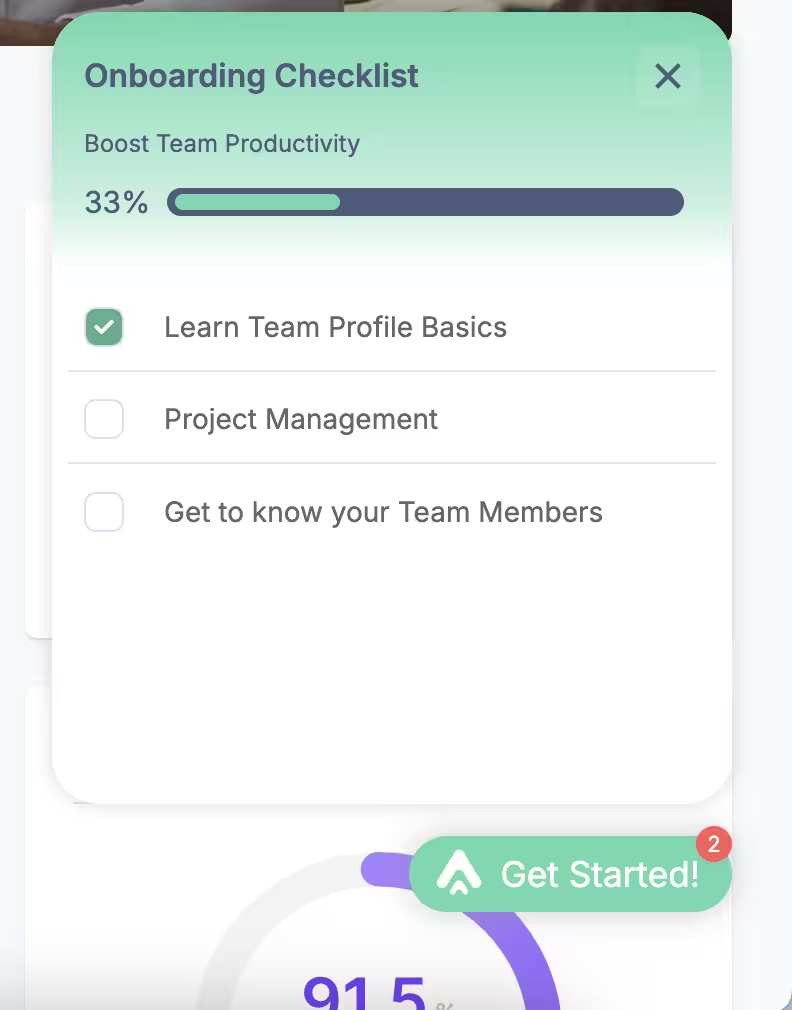
2) Pre-built onboarding checklists that update as tasks are completed
Checklists give users a clear roadmap of what to do next and help them stay motivated by showing visible progress. Instead of leaving users guessing, an onboarding checklist can recommend the exact steps they need to take to start seeing value in your product.
Because checklists act as guidelines rather than rigid requirements, users still have the freedom to move at their own pace.
Onboarding checklists…
- ✅ Encourage feature discovery without forcing it
- ✅ Highlight the most critical tasks for early success and quick value realization
- ✅ Provide a structured, meaningful onboarding experience that feels manageable
Here’s an example checklist created with UserGuiding:
💡 Pro Tip: You can personalize your checklists based on use cases to offer the most optimized roadmap to success for different user personas.
On average, a company manages 3 checklists with 5 steps on each.
3) Triggered tooltips/hotspots to explain (and promote) features at the right moment
As we’ve talked about in the best practices, timeliness and contextuality are two important aspects to a well-designed onboarding experience.
And tooltips and hotspots let you highlight features in context, at the right moment.
✅ With tooltips and hotspots, you can:
- Decrease cognitive load while users explore your UI
- Encourage adoption of premium features once users are ready
- Reinforce engagement with subtle nudges, rather than long explanations
- Provide contextual help in real time, instead of sending users to external docs
Here’s an example hotspot with an explanatory video:

And here’s an example tooltip:

💡 Pro Tip: Hotspots and tooltips serve different purposes:
- Hotspots draw attention, so they’re great for feature discovery.
- Tooltips prompt action or clarify UI elements, so they’re often used as part of interactive guides, though they can also be used individually.
You need to choose which one to use depending on your goal.
4) Automated follow-up messages to re-engage inactive users in the application
Even with strong onboarding, some users will naturally go inactive. When they return, it’s your chance to remind them of the value they haven’t fully explored yet.
For example, you can:
- Re-introduce unfinished onboarding checklists to guide them back
- Re-welcome them and highlight your core value proposition again
- Offer tips and shortcuts to re-motivate them to interact with the product
- Share success stories, statistics, or inspirational templates showing how other users are getting value
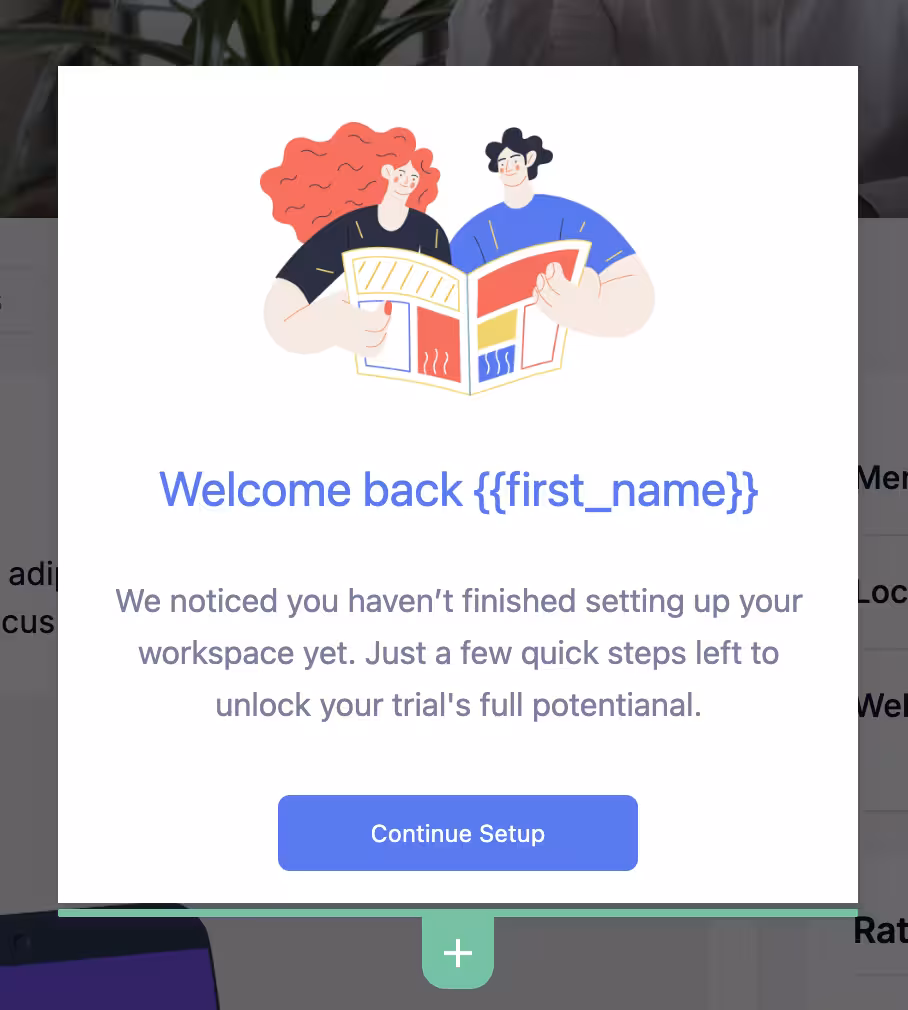
Here’s an example re-welcome modal with a personalized title that nudges the inactive user to continue their setup:
Pro tips for effective automated onboarding
1️⃣ Start small: automate the most repetitive onboarding tasks first. You need to prioritize your most effective and necessary onboarding materials, as these will have more impact than less-visited flows.
- In other words, focus on popular feature walkthroughs first and leave beta features for later.
2️⃣ Keep automation human-friendly with a conversational tone. Just like the formatting of your onboarding materials, the copy of them should feel approachable, too.
- Just because you automate your welcome messages and walkthroughs, it doesn’t mean they need to sound robotic. You can still write friendly and brand-approrpriate in-app messaging.
3️⃣ Personalize materials with segmentation and dynamic fields. We’ve already covered how powerful segmentation can be for driving engagement, so let’s not repeat ourselves here.
- What’s worth adding is that personalization goes beyond grouping users.
- You can also tailor dynamic fields with individual user attributes, like addressing users by name in welcome messages.
4️⃣ Use visuals and custom themes to make guides more engaging. Visuals drive users' attention and can give a visual sense related to the content.
- You can also fully customize the look & feel of the materials you create to match your brand colors and product UI.
5️⃣ Combine automation with analytics to track engagement drop-offs. Drop-offs often happen when a guide drags on too long, when mandatory tasks feel like blockers, or when certain steps create confusion instead of clarity.
- Spotting these friction points helps you refine onboarding flows and signals to users that your product offers a reliable, thoughtful experience, both now and in the long run.
6️⃣ Regularly update flows to match new features and user needs. You should refresh your onboarding materials as your product evolves, new features are released, and the UI is updated.
- This way, all guidance stays accurate, relevant, and valuable.
What positive outcomes can you expect with UserGuiding?
Companies that automate onboarding with UserGuiding see higher activation, better engagement, and improved retention.
🚀 Here are a few examples:
- Plandisc boosted engagement by streamlining product tours and checklists.
- Kariyer.net increased user engagement with tooltips and contextual guides.
- Flowla improved activation rates by 24% with interactive UX elements.
- CitizenShipper increased activation rates by 25% through product tours.
Final words…
Users often drop off because they don’t quickly see the product’s value.
Smart onboarding (automated and personalized) can help keep them engaged and returning, giving you…
✅ Satisfied, loyal customers
✅ Efficient workflows for your team

.png)